
I recently started to think about a little project with the Raspberry Pi 3. My goal is to build a little portable gaming station based on RetroPie.
The Vision
As most of you already know, the Raspberry Pi is a super tiny single-board computer. In the current version (Raspberry Pi 3 Model B) it has a 1.2 GHz quad-core ARM CPU with 1 GB RAM. Of course this is not much compared to a normal PC, but it is just enough for a nice little emulation station. So I decided to build a portable one.
My plan so far is to add a nice little LCD on top of the pi and to add a full set of gamepad inputs. Just like most modern gamepads, it should support two thumbsticks, all the buttons and ideally also two triggers. The Pi itself can’t handle analog inputs, but my plan is to use an Arduino with an ATmega32u4 chip. It does not only support analog inputs, but furthermore it can be recognized as an HID device, therefore I could use it as real a gamepad, without any GPIO hacks!
Of course I will also need some portable power…a lot of power, because gaming is very power hungry. I think I will use a few lithium polymer batteries, hopefully they will power my pi for several hours. In order to charge the battery while it is in use, I have to add some load sharing logic, but for now I will focus on the input.
Last but not least I have to model and 3D print a nice case. That’s a bit tricky, because I don’t actually know how robust the material will be. But this is also a step far, far away in the future, because I can only start this step when I have finished all the other tasks.
Which LCD?
I first wanted to use a 3.5 inch TFT from Adafruit, with a resolution of 480320 pixels, but then I encountered a problem. First of all, yes the resolution is really that small, but that’s not the problem. The problem with this display is, that it is only connected to the GPIO pins of the Raspberry Pi and it therefore sends each pxel, one after another to the screen. Because of this, it totally bypasses the GPU! And that’s especially bad for gaming, because it is one of the most important components for games.
Yes, there is a way to overcome this issue. You could pretend to render to your HDMI screen, but instead of really sending your image to the HDMI screen, you just copy the framebuffer and send it over GPIO to your LCD.This way you get hardware acceleration, but copying the framebuffer costs additional time and sending the data over GPIO is also really slow. Therefore Adafruit recommends the smaller version of the screen, with only 320240 pixels. But that’s a way too small!
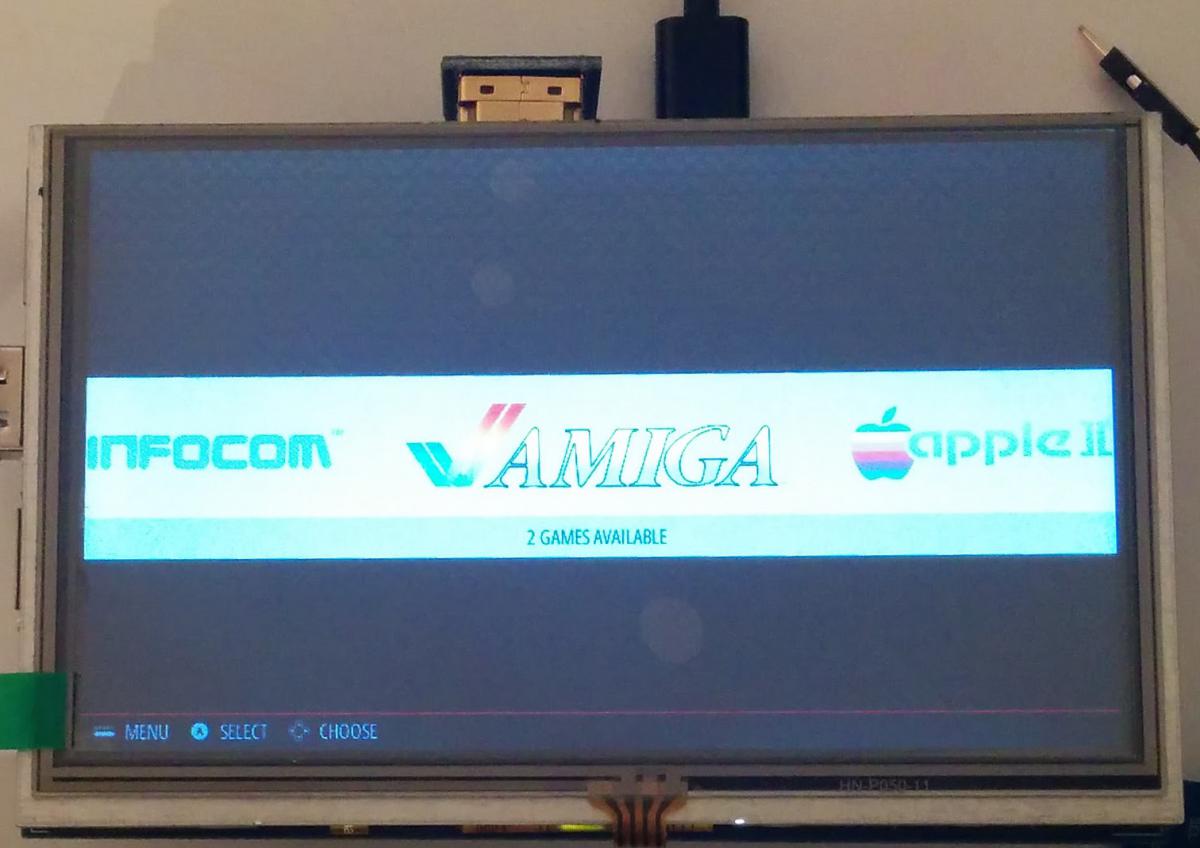
So what now? I decided to use an even bigger screen, with a resolution of 800*480! The nice thing about this screen is, that it is connected via HDMI and therefore I don’t have any of the problems above! The downside is that this screen is much bigger (5 inch), so the complete system will be a bit bigger… But hey, why not?
I found a cheap one on Amazon, which is even cheaper than the 3.5 inch screen :)
And here it is:
SD Card
Of course you also need a micro SD card. Because we want to add many, many games, the sd card should be really big, at least 16 GB, better more. I only had 8 GB cards of normal size, but the Raspberry Pi 3 needs micro SD cards, so I had to buy a new one. I was really amazed to see how cheap SD cards are. A few years ago I bought my last SD card with 8 GB storage for about 30€ and now a 64 GB one costs about 20€, nice :)
If you buy a card with more than 32 GB, it is typically formatted with exFat and not with FAT32. Unfortunately Windows don’t give you the option to format it with FAT32 in the format dialog. Instead you have to use a third party tool or you have to format the sd card via the console. I chose the later option, but the third party tool might be easier. After that you can copy NOOBS or berryboot on the sd card. Of course you could also skip this whole step and flash your OS image directly on the card. That’s up to you.
To be continued
That’s all for now, I will continue the next days with a few words on the input system and the wiring + programming.
Thanks for reading :)